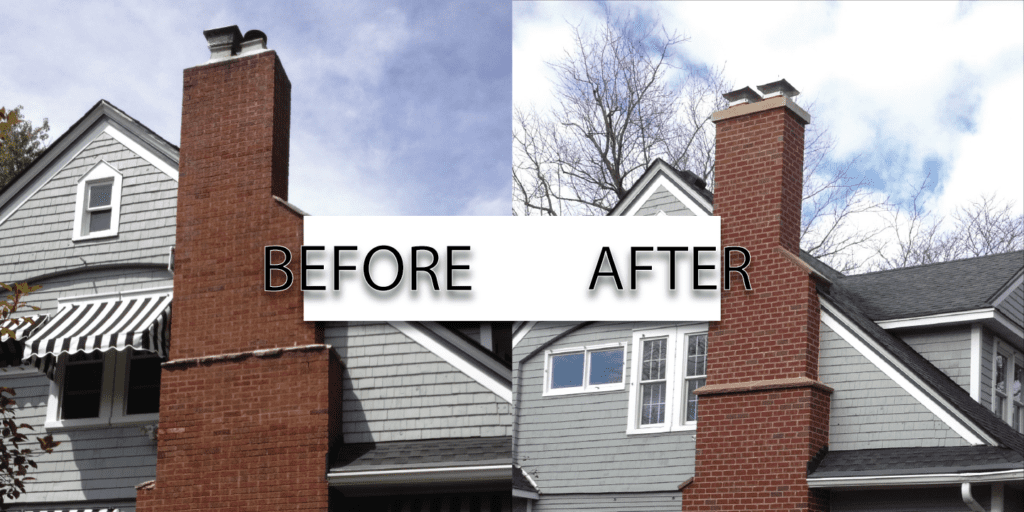
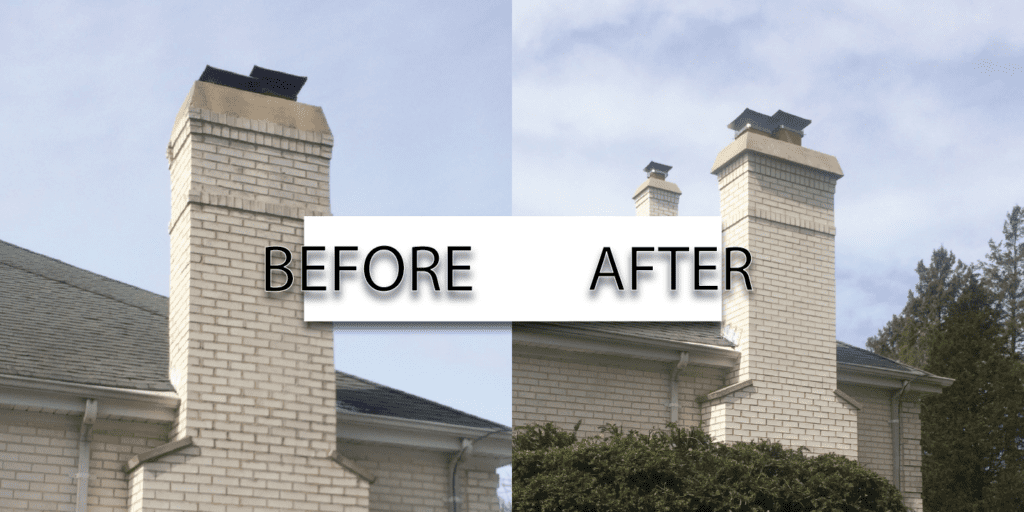
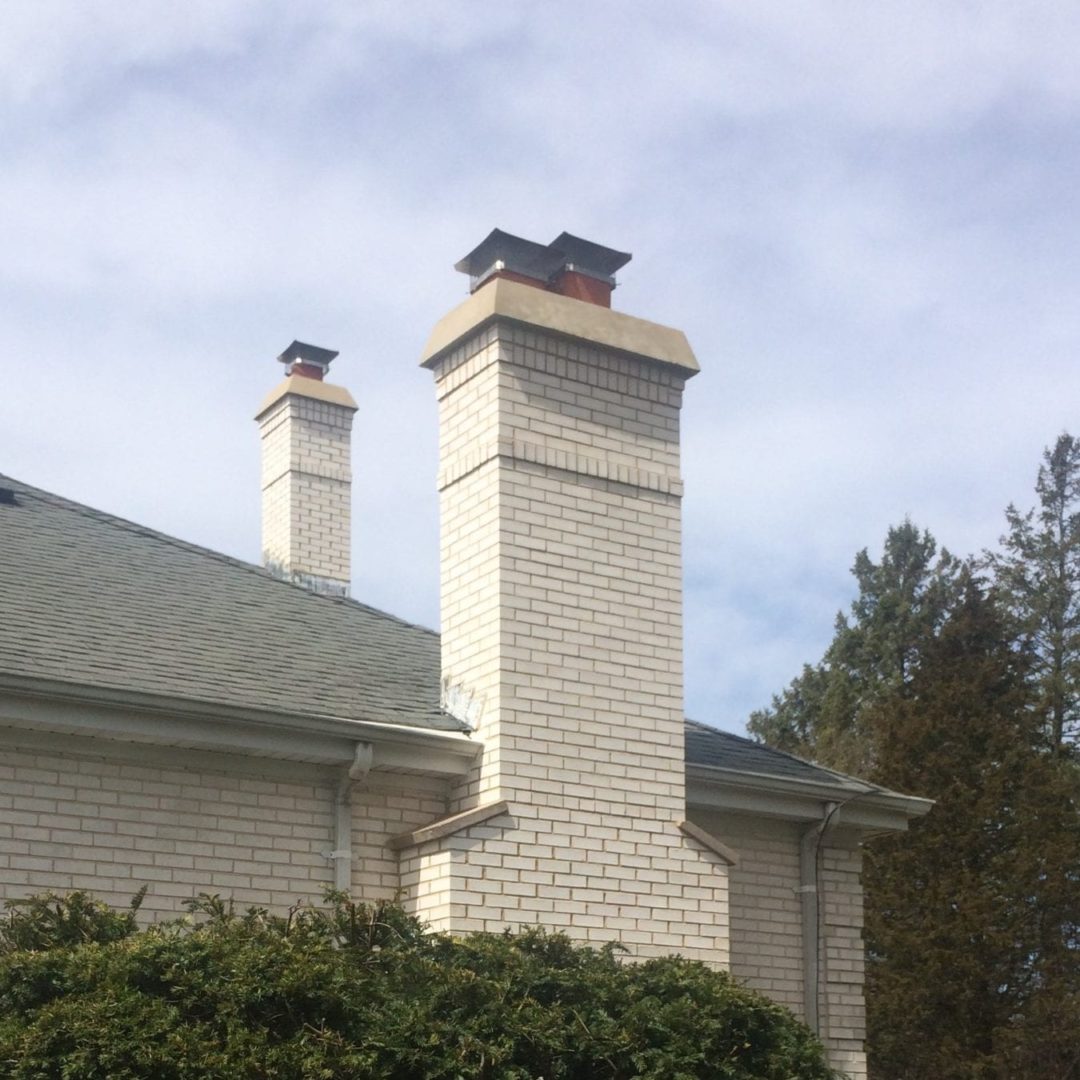
Are you planning on having a chimney crown rebuild? In this article, we will go over the step by step process on how a professional pours a concrete crown. Although the end product visually is just a big gray block, there is so much more that goes into pouring and producing a long-lasting chimney crown that will protect your chimney liners, bricks, etc. Below we detail the extensive preparation process of pouring a concrete chimney crown.
Looking for a free estimate on your masonry needs in Chicago or surrounding suburbs, call Coast to Coast Masonry today at 847-438-9165!
Pour a Concrete Crown Step by Step
1. Construct Forms
Chimney crown forms can be made out of wood or reusable metal forms. At Coast to Coast Masonry, we have different uses for each method. Constructing a concrete crown form out of wood is a more extensive process than metal forms and allows for more creativity in the final design choice of the concrete chimney crown. Often times, we use wood forms to create chimney crowns that are 8”, or larger, or if there is a beveled design of the concrete crown.
Our metal forms are used for typical rectangular-prism shaped concrete chimney crowns, usually between 4”-6”. Additionally, your forms should be constructed to extend a minimum of 2” on each side of your chimney. This allows for rain to be steered away from the physical masonry of the chimney. The final step, grease up the forms, wood or metal, so they are removed with no issue!
2. Install Flashing
At this step we install rubber flashing at the top course of masonry and top chimney flue, above the concrete line (this is trimmed after drying of concrete). This flashing completely separates the future concrete slab from the chimney masonry and clay flue liners.
Fun Fact: Concrete, bricks, and clay all expand and contract with heat and cold at different rates. Clay flue liners and the outer masonry wall should already not be in contact. The addition of flashing allows the concrete crown, masonry, and clay liners to move freely and not put any physical stress on each other!
3. Set Forms
Setting the forms is important to the final look of your chimney and the concrete crown and it is not always the easiest step. Metal forms are thin and can make direct contact with the outer most edges of the chimney and rest easily. Wood forms, on the other hand, often have their skeleton constructed with 2x4s and cannot be supported by the top masonry course as there would be an awkward gap left to be filled. Luckily, there are many options to support wood forms for your chimney crown. There can be supports from the roof up to the base of the wood forms. Nails can be hammered into the inner of the form and set on the top course of masonry. The wood form can also be nailed into the existing mortar.
4. Pour Concrete
Ready to pour and time for some old school manual labor pulling buckets of concrete up to the highest point of your house. Depending on the size of the concrete chimney crown, it is important to either reinforce the poured concrete with rebar or wire mesh. The majority of this process is repetitive until we finish pouring the final bucket. This step is so important to the long term integrity of your chimney crown. The concrete should be adjusted so that the chimney crown has concrete sloping from the flue down towards the outer edges. This allows your chimney concrete cap to keep water from sitting and seeping inwards. In colder territory this is even more important as sitting and seeping water can freeze and thaw, causing the concrete crown to crack.
 5. Apply Caulking & Mortar
At this point, we have left the concrete to dry and forms have been taken off. Now there should be a separation between flues and concrete crown, alongside a gap between concrete and masonry base due to flashing installation. These necessary gaps, that allow expansion and contraction of the different parts without added stress, still leave voids. The solution for the visible gaps up top is a seal that is flexible, caulking! This can be applied generously into the gaps and enough on the outside to clean up. The clean up of the look is done with a torched semicircle tool that leaves a smooth and even finish when dragged along.
The solution for the visible gaps underneath the chimney crown is a permeable, previously used solution, mortar! This is an escape zone for water that is flashed out so caulking would be a poor option and defeat the entire purpose of the flashing setup.
Coast to Coast Masonry, Local Chicago Chimney Crown Experts
At Coast to Coast Masonry Group (CTC), we repair, restore, protect, and preserve masonry including brick, stone, and concrete. Whether it is a crumbling chimney, a broken glass block window, or parapet wall our expert masons are here to help. We use the latest masonry technology techniques to restore brick and protect your home.
We at CTC Masonry are the complete solution to your masonry and chimney needs. We highly value our clients and seek to gain their confidence by offering the highest level of customized chimney services and masonry products at a competitive price.
Useful Links
For more information on our services – click here
For more information about us – click here


